Review: Nokia N95 - part 3, The Camera
Score:
83%
It's true that megapixels aren't everything when it comes to digital photography. Good lighting, good composition, a steady hand and an interesting subject all spring to mind as more important, for example. In fact, I leave my Nokia N95's camera set to 3 megapixels by default, as this gives me more than enough detail while keeping the photo file sizes reasonable.
But there are times when you want to impress, or to produce something that's got high enough resolution to be printed very large, or to have an original that you can crop a bit out of and still have resolution to spare. You'll still need the attributes listed above, of course, and armed with these it's possible to produce image files that are something special.
But how good, at the end of the day, is the camera on the Nokia N95? Behind the bare specs (Resolution: 2582 x 1944 pixels, CMOS sensor, Mechanical shutter:1/1000 to 1/3s, Focal length: 5.6 mm, F-Stop/Aperture: f/2.8, Focus range: 10 cm to infinity, Auto Focus, Carl Zeiss Optics, Flash, Red-Eye Reduction), how does the camera compare to a top standalone camera of the same resolution? Is it close enough that the standalone can be left at home for all intents and purposes?

A wide range of uses
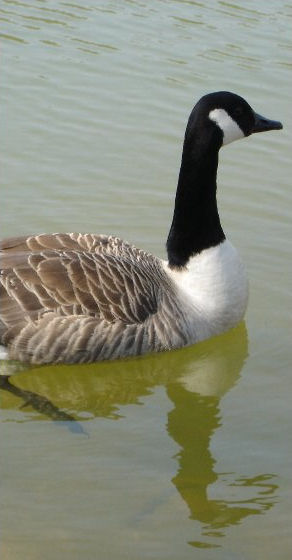
Let's start with some images of my own, taken for the purposes of this review on the N95 with default settings, embracing a wide variety of subjects. In each case, click through for the full (approximately two megabytes) 5 megapixel photo, unprocessed, from the N95's camera:


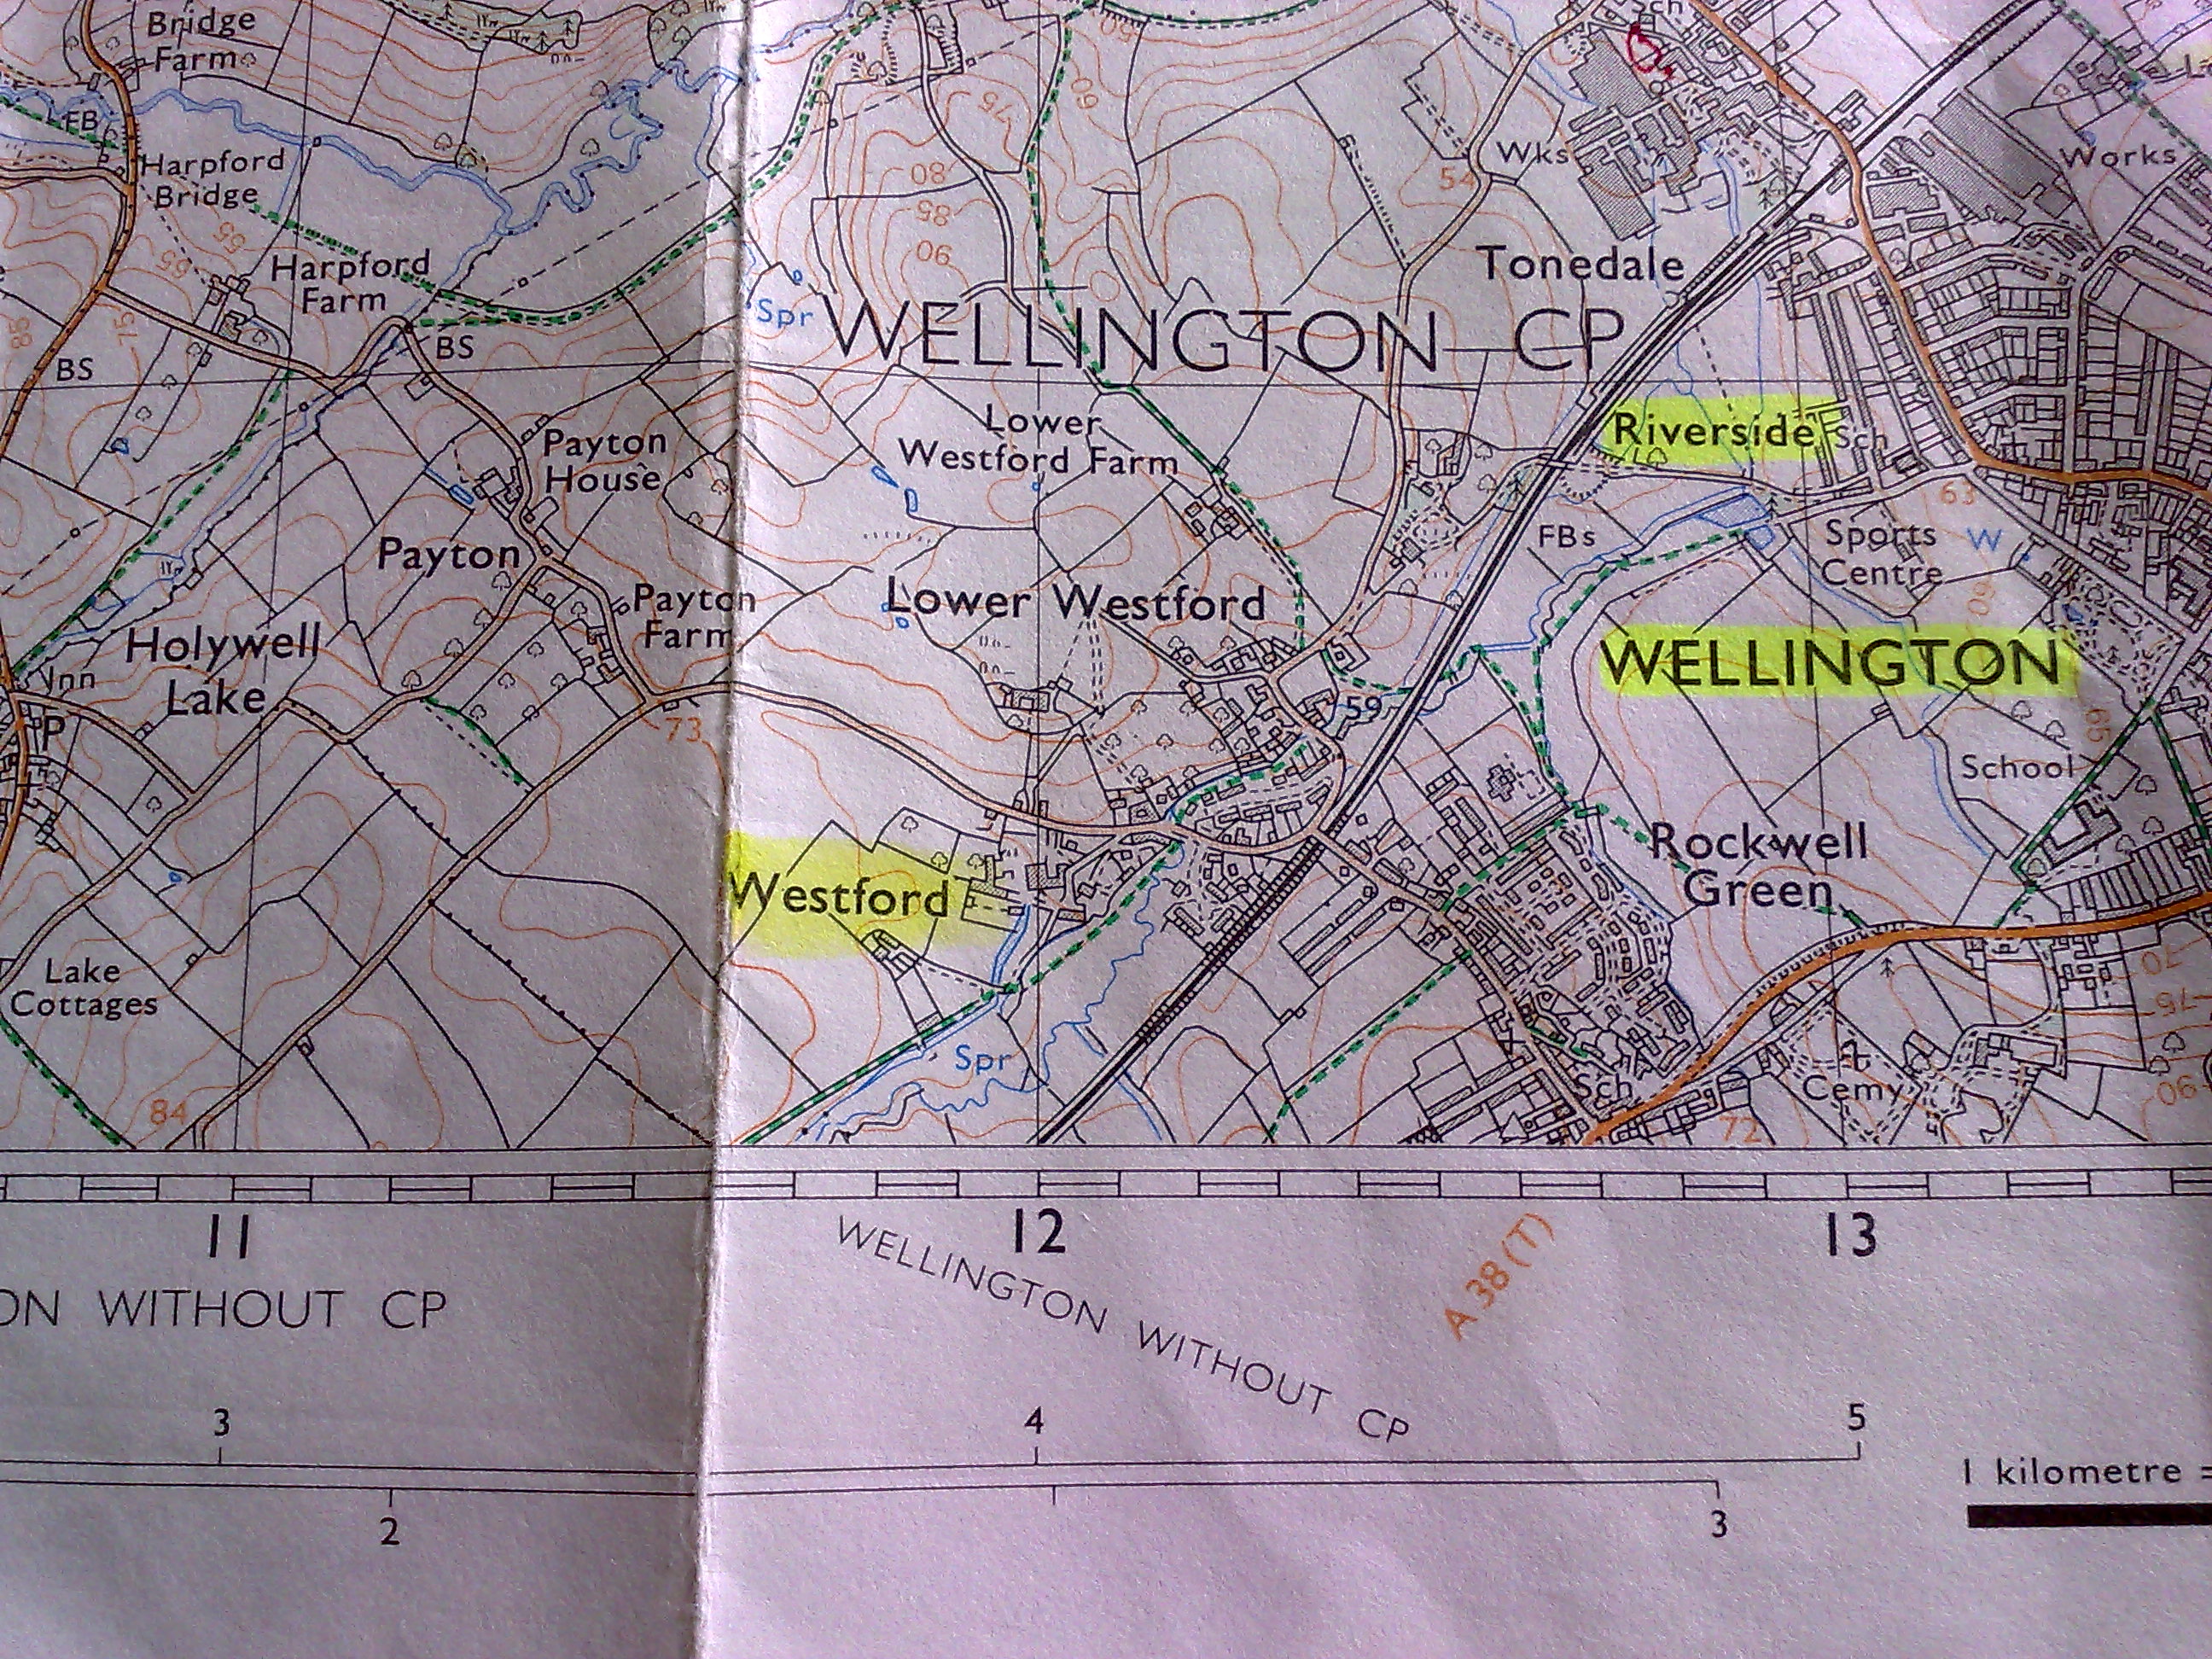


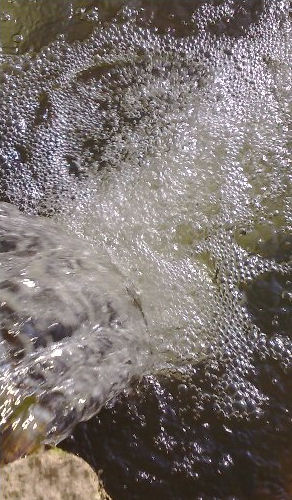
See the conclusion at the bottom of this review for my opinion on how good or bad the images are, but for now it's enough to note the decent performance (even for an Nseries smartphone, check out the clarity of the sea spray image, for example, and the use of the N95 as a colour photocopier in the map example) but tempered by fairly obvious and over-zealous edge enhancement. But does every digital camera apply similar image tricks to try and make its images more pleasing? And how good or bad are the Carl Zeiss optics in the N95 when compared to those in a larger, dedicated camera?
N95 vs Standalone camera
To test this, we took Rafe's Sony DSC-W12 and shot the same subjects in exactly the same lighting conditions with both devices.
Thanks to Rafe for the full set of photos, which you'll have already browsed through in his N95 photo set, posted a day or so ago. But, for the purposes of this article, I've also grabbed his companion set of photos from the Sony and zoomed in a little and cropped a few highlights, so that you can see the differences more clearly.

Sony on the left, N95 on the right. Both are quite impressive, but the N95's image isn't as sharp or as colourful


Again, Sony on the left, with slightly better colouring, although this one's a close run thing. I'd say that the N95's camera algorithms are tuned for exactly this sort of detail at this sort of range


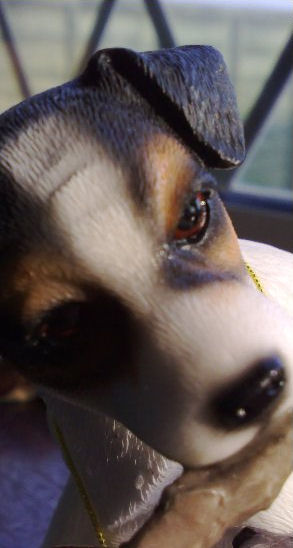
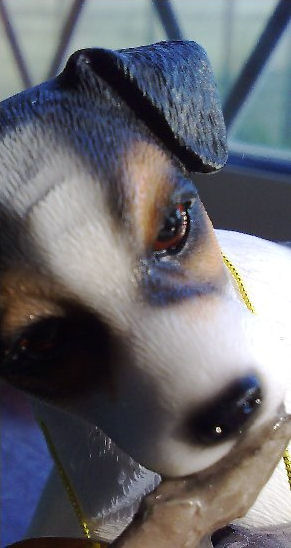
N95 on the left this time, you can see that the standalone Sony on the right brings out greater detail in areas of shadow, such as the dog's face


N95 on the left again, with redder sky (that red tint effect shows up most obviously in this sort of shot, although it's not displeasing) and, despite the edge enhancement, not quite as much detail as that in the photo from the Sony


Sony on the left, N95 on the right, although again the N95's camera algorithms work brilliantly and, if anything, the smartphone's photo is the more attractive of the two


N95 obviously on the left, its LED flash is only effective for objects about a metre away and anything else is just hopeless

Sony on the left, with proper optical zoom. The N95 has been used here with its digital zoom and, not surprisingly, the result is hopeless. As ever with digital camera, AVOID DIGITAL ZOOM LIKE THE PLAGUE! If you must zoom, do it by cropping a full size photo later and then resampling and applying effects in PaintShop Pro or similar on your desktop
Operation
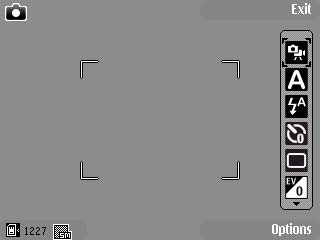
As with the camera on the other S60 slider, the N80, opening the lens cover is enough to fire up the Camera application in whatever mode (photo/video) you last used it in (although all individual settings within a mode - e.g. exposure, sharpness - are NOT restored). In terms of features, Camera is a gentle evolution of that in previous Nseries devices. With the N95 designed to work just as well in landscape mode as in portrait, it's very natural to hold it like a traditional camera and use the provided shutter button.
D-pad select activates the top on-screen icon, toggling between still and video modes:
With a scrollable strip of extra icons beneath for:
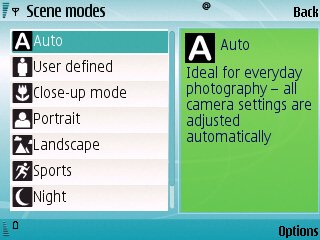
- scene mode (auto, user, landscape, close-up (macro, very useful, auto-focus then works down to about 7cm), etc.)
- flash mode (auto, on, off, red-eye reduct)
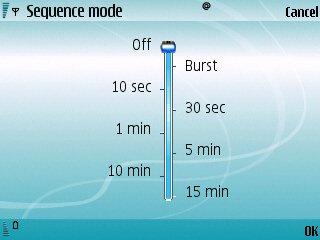
- self-timer, sequence mode (for arty effects)
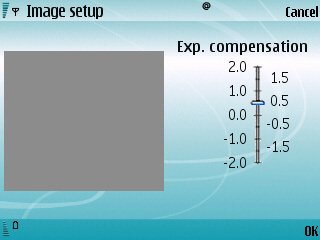
- exposure adjustment (+2 to -2EV at 0.5 step, excellent for shooting important shots on very sunny days)
- white balance
- colour tone
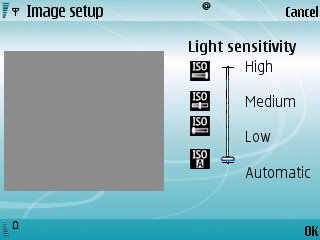
- light sensitivity (ISO)
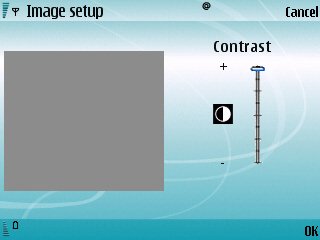
- contrast
- sharpness (edge enhancement)
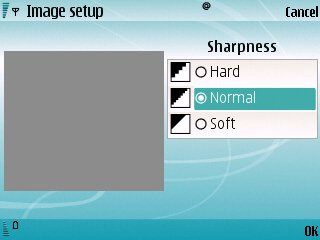
This last is the most controversial setting - in my opinion, the default sharpness setting is too sharp, with artificial elements to photos, artefacts of an over zealous algorithm rather than anything in your original image/subject. The presence of a 'User' scene mode thankfully means that if, like me, you want to reduce the edge enhancement then you can, saving the settings in User mode and using this for photos that you want to be more 'accurate'.
The difference between sharpness being turned down (left) and up (right) - which do YOU prefer?
I have to say that I've never had a camera of ANY kind with quite so many things to fiddle with, although thankfully for most people it'll be quite enough to set the desired resolution and snap away, leaving everything on automatic. Having to stop and scroll down to make adjustments slows down the photo-taking process a lot, making it suitable only for semi-professional setup shots.
As mentioned in a caption above, there's no optical zoom here, but the basic resolution is high enough that you can snap away and crop images later - as ever, there's little point in using the 'digital zoom' unless your eyesight isn't good enough to make out what you're trying to take a picture /of/. If you really must zoom, the side up/down controls work well, as do navigator left/right.
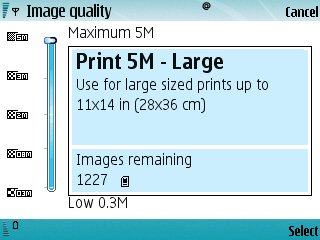
Resolution is set in 'Settings', though I suspect that most people won't actually need the stated maximum resolution most of the time, the 3 megapixel setting is quite sufficient for day to day casual use, with a large corresponding increase in the number of photos that can be fitted into the free space on your expansion card.
On the production N95 with first release firmware, the N95 camera software was frustratingly slow. At least, frustrating from the point of view of snapping people (who tend to move about and get impatient). Auto-focus takes around a second, which is just about acceptable. Having pressed the shutter, there's thankfully only a minimal shutter lag for actual image-taking, although the camera shutter sound sample takes a good extra second to start playing and there's up to a four second pause for the image just taken to be displayed. At least half of this is down to physically saving the image, with the rest taken up with rendering it to the screen. Let's hope that firmware updates will quickly make a dent in this shot-to-shot time. Yes, there's a 'burst' mode that you could shoot quick-fire snaps in, but it's not really the same.
One change which is worth mentioning is that 'close-up' mode now allows auto-focus, unlike on (for example the Nokia N93 and N93i). This means that you can get a proper focussed image of objects as close as 7cm, with care. As with all Nokia's focussing cameras, the extra clarity is immediately noticeable for anything closer than about a metre.
The verdict
In a way, it's a tribute to the Nokia N95's photographic ambitions that I'm comparing it directly to what, a year or so ago, was a top of the line standalone digital camera. But from the samples above, there are distinct limitations to having a much smaller sensor and lens, with slightly less detail in many images. Every digital camera has algorithms built-in, to reduce sensor noise (usually by blurring the image very slightly) and then to sharpen up the result in terms of edges and contrast, to give a more 'pleasing' result. The N95 has to work slightly harder at this, since it's got lower quality input that the Sony camera tested, and the results can sometimes be a little artificial.
 The whole concept of 'pleasing' is vital to understand here. A photo that is optically perfect would be dismissed as inferior by most people when compared to the printed output, at 7" by 5" (or similar), of a camera such as that in the N95. The extra contrast adjustment, colour correction and edge-enhancement are all designed by Nokia to produce an image that's pleasing to the people in its target market. In fact, many phone cameras have different processing algorithms for Europe the Far East, for example. The name of the game is creating images that will 'please' as many people as possible. Which usually means working well when viewed on a screen, when printed or when uploaded to a web page or blog.
The Nokia N93 produces optically perfect photos but with lots of the original sensor noise and (sadly) over-enthusiastic compression artefacts. The N93i had a tweaked algorithm, with deliberate blurring applied in order to reduce the apparent noise, at the expense of loss of detail. The N73, at 3 megapixels, and the N95, at 5 megapixels, add an extra processing layer, extra edge-enhancement, to attempt to compensate for the noise blurring. For 'natural' shots, with leaves, twigs, human features, animals, and so on, this works very well most of the time, while for arty shots and special effects, the artificial edges really stand out and annoy.
Which is better? It's down to your own eyes and preferences. To be honest, for most occasions outdoors, my (ok, Rafe's) Nokia E70 (fixed focus, 2mp) produces wonderfully coloured and 'pleasing' photos that are 'good enough' a lot of the time. But the Nokia N73, N93, N93i and N95 are about more than just pleasing snaps. They all have semi-professional aims, with focussing abilities that encourage experimentation and unusual subjects. That none of these devices really stands up under scrutiny in comparison with a standalone camera shouldn't come as a surprise - my current favourite phrase (from Star Trek) 'Ye cannae beat the laws of physics' applies here (as it will again in my N95 review feature on battery life) - there's simply no way a tiny smartphone lens and sensor can compete with dedicated camera optics and electronics.
BUT. Nokia has aimed the Nokia N95 unashamedly as a premium phone for the high street. This is the one they want every Tom, Dick and Harry to aspire to and they want to ensure that the device gives pleasing results for typical subjects (friends, family, pets, hobbies, etc). With the hope that newer firmware improves camera speed, I think Nokia will get more praise and respect than criticism.
Steve Litchfield, 2 April 2007
PS. In part 4 of our Nokia N95 review, we'll be looking at what you can do with your new megapixel images, including editing them on the device, displaying them using TV-out, printing them using Pictbridge (Image print), uploading them using Flickr integration and storing them using PC Suite for advanced processing. Part 5 will look at video recording, playback and editing.
See Also
Rafe's gallery of images captured on the N95
Also in this series
Nokia N95 - Part 1, The Navigator (Smart2Go)
Nokia N95 - Part 2, The Music
Nokia N95 - Part 3, The Camera
Nokia N95 - Part 4, The Video
Nokia N95 - Part 5, The Battery
Nokia N95 - Part 6, Initial Conclusion
Earlier Coverage and Resources
Nokia N95 First Impressions Preview (prototype model)
Nokia N95 Video Review
Nokia N95 - Your Questions Answered (prototype model)
Nokia N95 Software Directory / List
Nokia N95 Device PhotosReviewed by Steve Litchfield at