You see, my eyes are the same as anyone else's. In fact, they're probably worse, having deteriorated with age. And when I see a photo on a phone screen or laptop display, I see the same overall composition and colours and can appreciate it as anyone else would. Even when it's VGA resolution and hosted on Instagram or Facebook.
However, when you want to do something meaningful, creative and memorable with a photo you've taken on your smartphone, it's important to at least start with as high a quality image as possible. Which means
- decent resolution (5MP minimum, 8MP+ better)
- colours as close to reality as possible
- detail at the pixel level which actually is detail and not the figment of some sharpening algorithm
- lack of digital noise (and I don't mean a smeared, blurry mess after a noise-reduction algorithm has been at play)
It's the same principle as in many other areas of life and technology - garbage in, garbage out. If you start with a photo that has bad colours, lots of artefacts or noise, then whatever you do to it later, you'll be fighting a losing battle. And the only reason why most people don't notice flaws in their smartphone photos is because they only view them on a phone screen and share via very low resolution versions on social media.
However, choose wisely and start with images like those from the Nokia N8, 808 or Lumia 1020 and you've got starting material that's as good as it gets. Whether you're cropping in (reframing on the 1020) to pick out a specific subject in a larger photo or whether you're trying some very arty atmospheric effects, if you start with good detail, zero artefacts and almost zero noise then most of this will be preserved as you work.
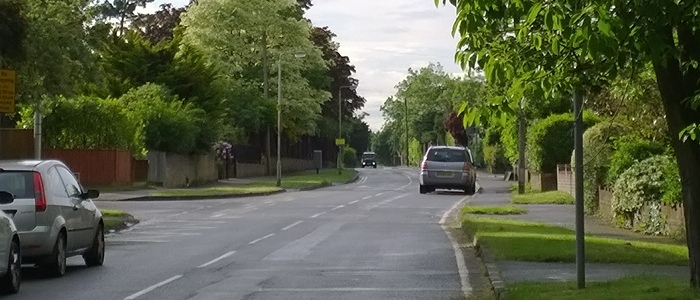
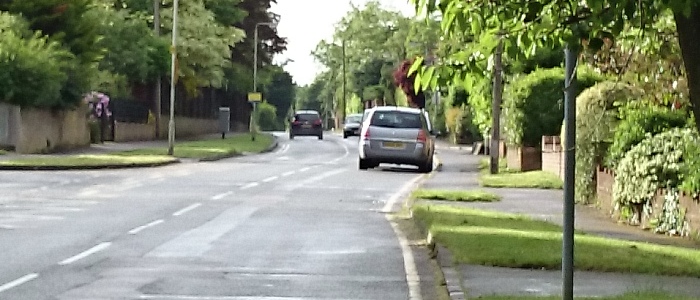
A good example of why pixel peeping matters, from my recent camera shootout between the 2013 Nokia Lumia 1020 and the 2014 Sony Xperia Z2 (running Android):
Here's the scene, as captured on the Lumia 1020:
And here are 1:1 crops from central detail, from the Nokia Lumia 1020 (top) and Sony Xperia Z2 (bottom) - use the hyperlinked names to download the original JPGs if you want to examine them yourself, etc.:

Shot in sunny conditions, this shouldn't challenge either device, yet the Z2's native image processing makes a complete hash of the finer detail. Use it as the basis for any editing or cropping and you'll get very disappointing results. In contrast the Nokia PureView crop is so clean and detailed that you could almost be looking out at that detail through (e.g.) a car window.
Some of my most impressive shots of people have been in a group scene or situation, where they're reacting to somebody/something else - and I've simply cropped in on the person, still ending up with several megapixels, yet quality, detail and noise are as good as if I'd been three times closer and targetting the subject specifically (and, probably, intrusively - it's a bit like quantum physics - in order to get close enough to a subject you often change the dynamics of whatever they're doing!)
Also, as it turns out, and contrary to what you may have guessed, I'm a fan of photo effects. Not gimmicky 'retro' ones, mind you, but serious filters that enhance colours or add subtleties that couldn't be achieved optically at the time of capture.
For example, I was with my dad on a spring visit to a 'Bluebell wood', and we were delighted by the flowers but disappointed by the British weather on the day, with the cold and cloudy conditions making the bluebells themselves very dim in colour and the scene wholly unremarkable. I took some photos anyway on my phone (an N8, I think) and, later on, was able to dramatically increase the colour saturation in photo editing software, producing something which made a nice framed present for my father.

The only downside of image processing to increase saturation (and to boost blue in particular) here is that my dad's jacket also had a hint of blue - so that got dramatically boosted too!!
Another example, with landscapes, is to start with a nicely detailed image, but natural colours and exposure, and then try pseudo-HDR, saturation and sharpening tricks, producing something surreally impressive.
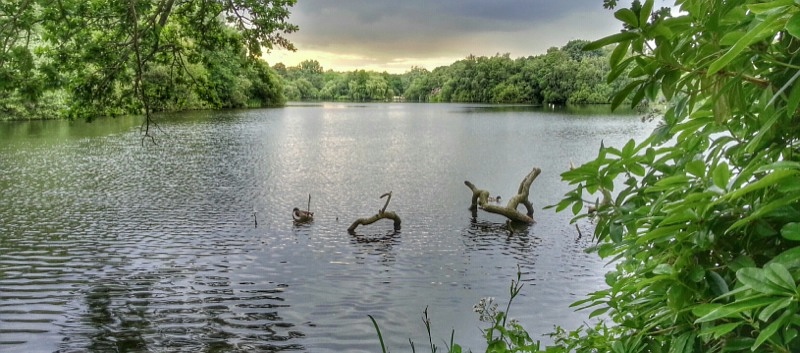
This was quite a dull evening, quite dark and with just a glimmer of light in the distance, but heavy image processing turned it into a really pleasing photo...
So the next time I do a head to head camera shootout and wax lyrical over the purity of the images produced, bandying about 1:1 crops, remember that I do this not because I intend to view the photos on a 50" screen or printout, but because purity is important in the ongoing workflow with what you intend to do with the image later on.