Editor's note:
This is one of several methods that can be used to 'sign' an unsigned utility for personal use on a single device. Please note that a more official method is coming soon from Symbian, after which things should be clearer and easier. Watch this space!
What you will need:
GenialSiS – available from the authors site here
A Symbian Signed Account – which you can get from here
A spare 10 – 20 minutes
Step 1
 First of all we need to generate a .csr file to upload to Symbian Signed, to do this I am going to use the program ‘GenialSiS’, available from the link at the top.
Click on the program's .exe file, and this will open up the main window.
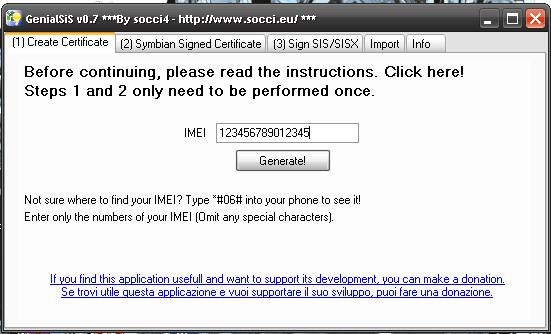
Firstly you will need to type your phones IMEI number, as shown in the example above. Then you need to click the ‘Generate!’ button, and wait a couple of minutes till you get the popup up saying ‘Completed’:
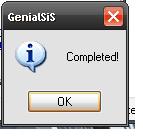
TIP: Low end computers can sometimes freeze while doing this step (above), if this happens, wait a couple of minutes till the process is complete, then it will be fine.
You will now find the program has generated 4 files which are now located in the program's folder:

The file we need for the next step is the one named ‘genialcert.csr’ - this is the file used to generate our certificate to sign the application.
Step 2
The next step involves uploading our .csr file to Symbian Signed, in order to generate the certificate we need for the final step.
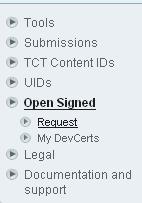
Load up the Symbian Signed web site and login.
![]() Click on the ‘My Symbian Signed’ tab.
Click on the ‘My Symbian Signed’ tab.
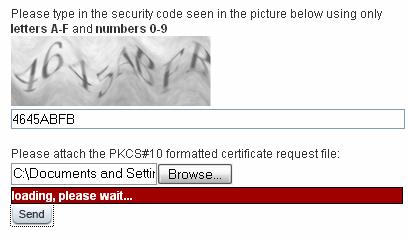
You will then be presented with the following screen to download your new certificate. If you get an error, go back and try the previous steps again.
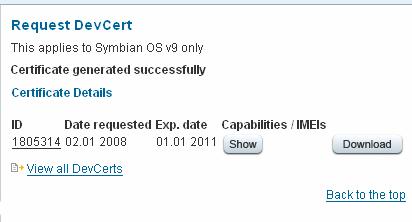
You will need to save the certificate to the program folder.
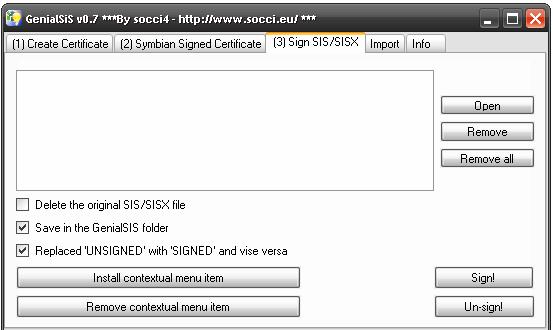
Step 3
Now you have your certificate, we are ready to do some signing. For the next step you must ensure all the files we have been working with are in the program’s folder, yours should look similar to the one below: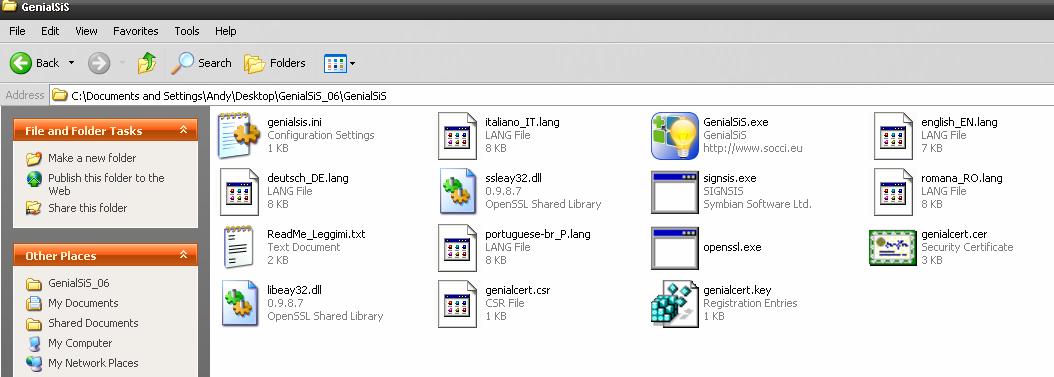
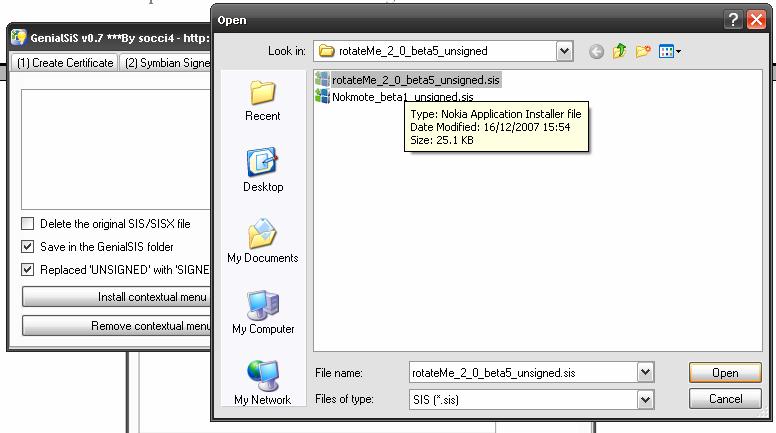
The file will then appear in the white box, as shown below:
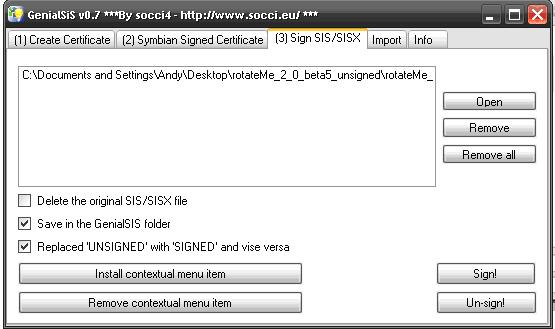
Next select the Sign! Button to begin the signing process.
TIP: Low end computers can sometimes freeze while doing this step (above), if this happens, wait a couple of minutes till the process is complete, then it will be fine.
After a couple of minutes you will get a popup saying ‘The files have been successfully signed!’
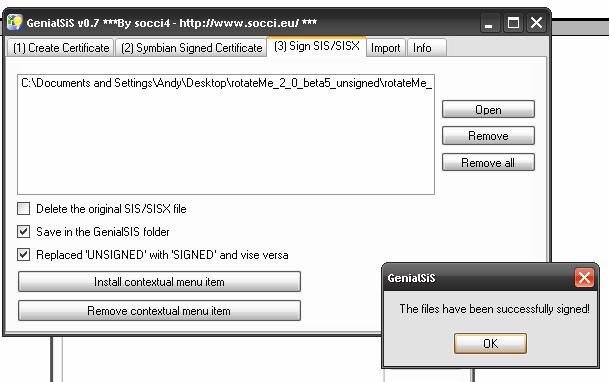
Your new signed file can now been found in the same location as your original file:

Congratulations! You have now successfully signed your first file; you can now install it on your phone by double clicking the file, after connecting your device, and clicking through the prompts.
Troubleshooting
Q: There’s an error when I try and upload the .csr file?
Double check the confirmation key, you will have to enter a new one each time, make sure you have put the letters in upper case (ABC) rather than lower case (abc), also the letters go from A – F, and the numbers from 1-9, don’t mistake an S for an 8, they can look quite alike!
Q: Why not use the inbuilt certificate uploader in Genialsis?
I find that the built-in uploader in GenialSiS is a lot slower than doing it manually, so to decrease the time it takes to sign, use the Symbian Signed site.
Q: I get the error ‘the KEY file cannot be found in the GenialSiS folder’
Ensure that the files were generated into the GenialSiS folder, if you sign more than one set of files at a time, the program can occasionally create the files in another location. If this happens, just run a search for the .csr file and the rest of the files should be with it.
Andrew Galpin, 13 Jan 2008