It is recommended to have an unlimited (cellular) data connection. Otherwise the setup might not work properly, even after you are connected using WiFi. [anecdotal point from Steve - I fell foul of this, I suspect, trying to do it all over Wi-Fi, and Nokia Messaging wouldn't pick up email at all]
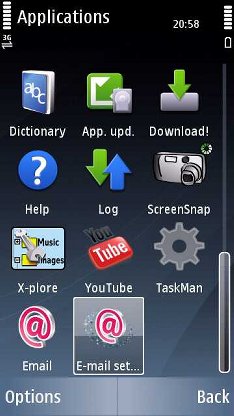
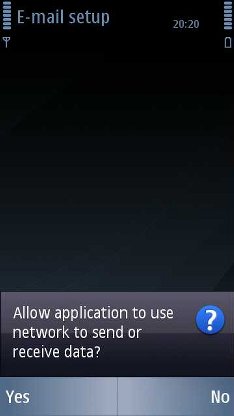
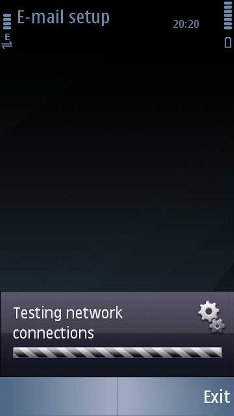
Assuming you followed our instructions to get Nokia Messaging officially and successfully installed it in your S60 smartphones, you can launch the setup from the application launcher. It is labelled as “Email Setup”. There are 2 similar icons. The other one is labelled “Email”. Dont touch that for now. Just select “Email Setup” and you must give it permission to connect for the first time. It will test the network to verify you have a working internet connection because it needs to connect to Nokia's server.
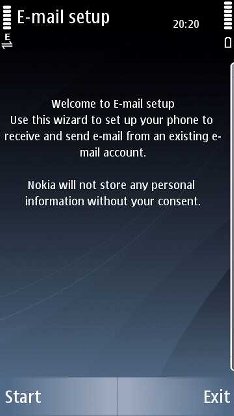
After a few seconds, once connected, you will be greeted with a welcome screen and disclaimer. Just select “Start” to begin your email setup.
(Note by Asri : In my opinion, it would be better for Nokia Messaging to offer users an opion to select an Access Point in the beginning of the setup process. Because in my case, it always defaulted to a WAP Access Point... System Seven has this option to select access point)
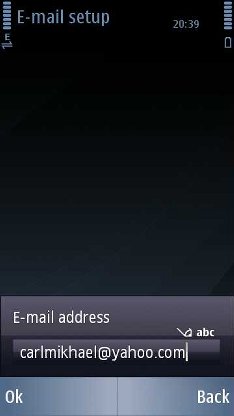
A new screen will appear which needs you to enter your email address. For popular webmail systems like Gmail, Yahoo Mail, Hotmail, etc, the setup is straightforward. Just enter your email address like "yourname@gmail.com" and click “OK”. You actually only need to know your email address and password. For those who are using their own email addresses from their hosting providers, I will show the setup in a future writeup in this series.
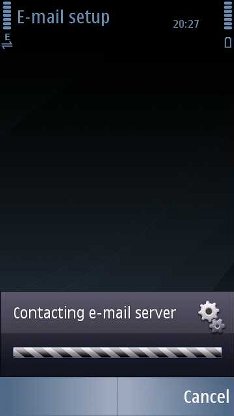
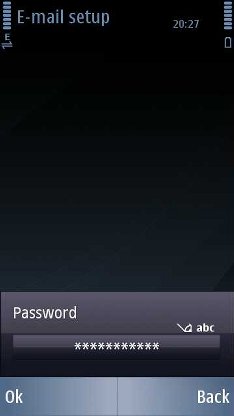
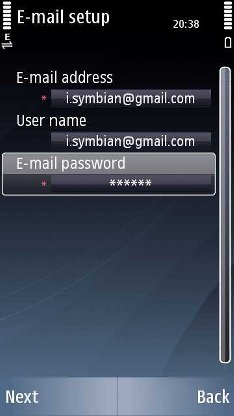
After a few seconds, another screen will appear, you need to enter your email password to continue. If you are not comfortable submitting your email password to a foreign party, you can press “Back” to stop the setup process. If you want to continue, type the password in the box and press “Ok”. The information will be submitted to the appropriate email server for verification.
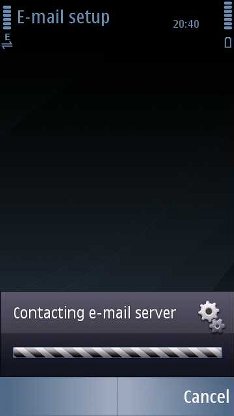
If you submitted the correct combination of email and password, you will not have any problem and will complete the setup in a matter of seconds. If there's an error in your password, the process will prompt you to correct it. (The screenshot below will only appear if you enter wrong email/password combination).
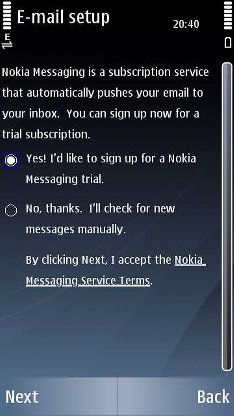
Once the email address and password have been verified, the next screen will tell you about the Nokia Messaging service and ask whether you want to use its push functions and to sign up for a Nokia Messaging trial. If you don't want to subscribe to it yet, just select “No, Thanks” and a new email folder will be created inside your default S60 Messaging system, just note that it is not using the 'Nokia Messaging' system, per se.
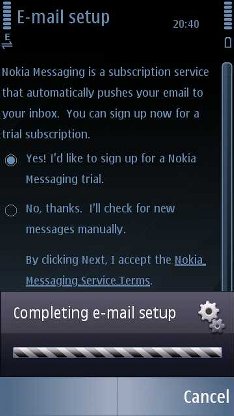
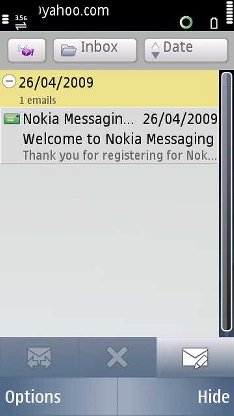
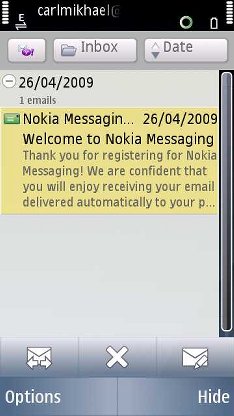
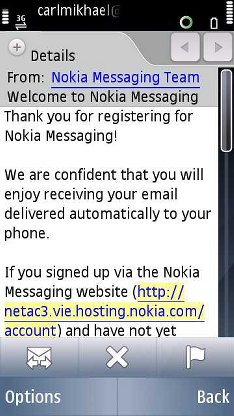
Wait a few seconds and Nokia Messaging will be ready to use. You can add other email account for a maximum of 10 email addresses inside Nokia Messaging. I will talk about its features and functions in a future article in this series. For now, have a look at some screenshots of Nokia Messaging in action inside my Nokia 5800.
- Asri al-Baker, for All About Symbian, May 18th 2009
