(Thanks to Eric, from the Delight team, for the heads-up.)
Essentially, the old way of setting up a new mailbox was to enter your intended email address and then a Cloud-hosted wizard would leap in with the right IMAP/POP3/security settings. But now that the Cloud bit is broken, another way of setting up email is to have a special utility, in this case MailboxCreator, create a dummy email account, from which starting point you can dive into Settings to tweak its configuration manually:
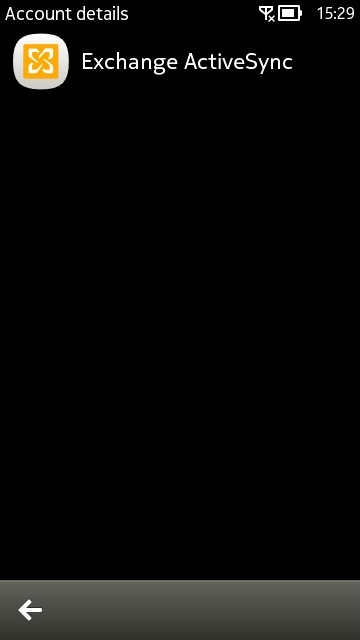
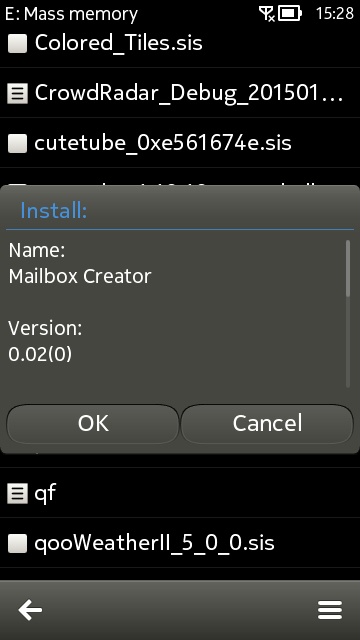
The problem: only Exchange accounts are supported for auto-set-up now that Nokia's configuration server is offline; (right) grab the Mailbox Creator application and install it in the usual way.
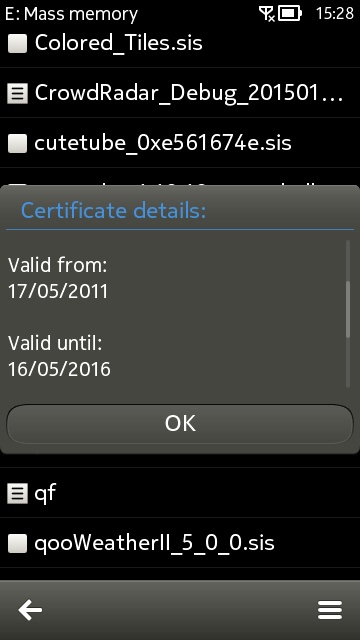
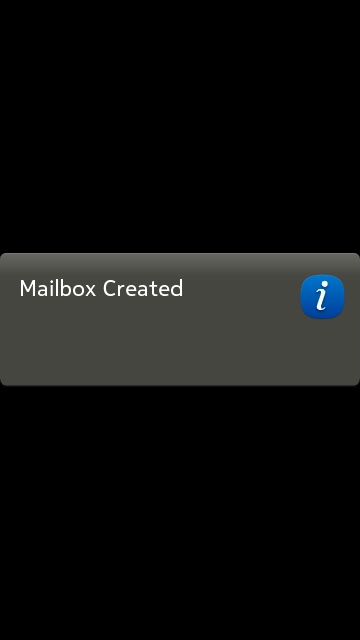
Mailbox Creator's certificate is valid until May 2016. If you're reading this after that date then set your phone's date back a year or two and try the installation again! (right) Running this utility from the main application menu results in one simple pop-up, shown here.
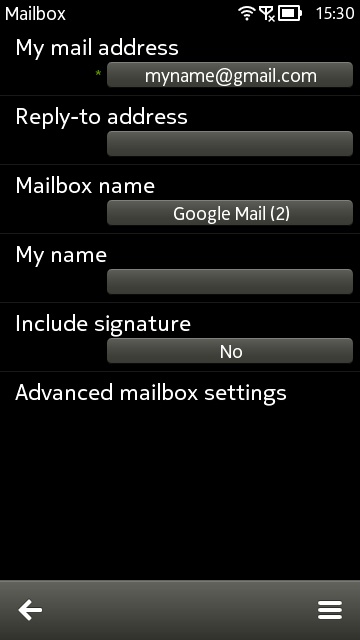
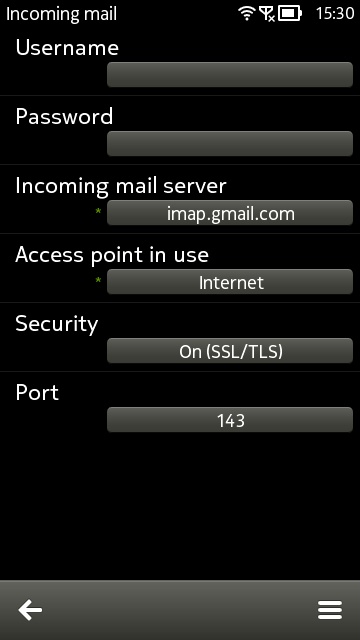
Head into your Mail application and you should now see a dummy email account, by default one for Gmail, the most common in use today. Below the account, you'll see Settings, so tap on this and then on the dummy account name. If you're going with Gmail then just edit the email address, name and passwords, etc. as needed. If you're using a different email host then you'll have a few more fields to fill in (e.g. mail server addresses).
Of course, all of this relies on a modicum of technical knowledge by the person setting things up (which is why I haven't spelt out how to navigate Mail's UI - if you can't cope with that then you shouldn't be fiddling around entering mail server URLs, etc!), along with cooperation from an email host in terms of the settings needed, but at least we now have a genuine workaround for the current set-up issues.
You may wish to bookmark this page for future use!
