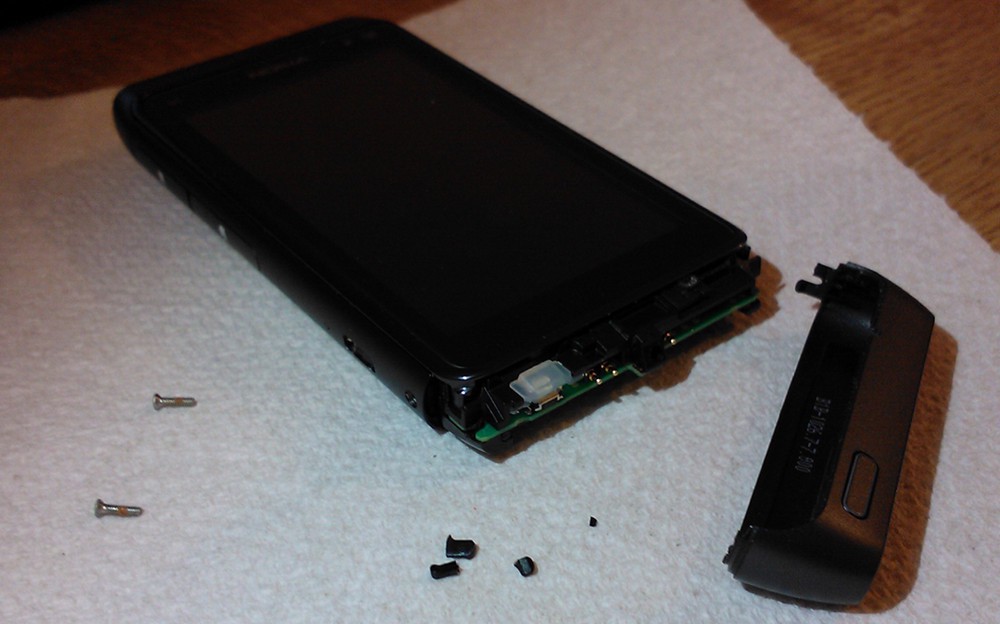
Surveying the damage - my N8's antenna cap clips disintegrated
Before I start, you should note that doing any sort of repair on your device will invalidate your warranty – so follow this guide at your own risk! However, if your warranty has expired, or you just don’t care, then taking the DIY approach can be an excellent time saver, even though you'll have the buy the replacement part (and possibly a screwdriver) for yourself!
What you'll need

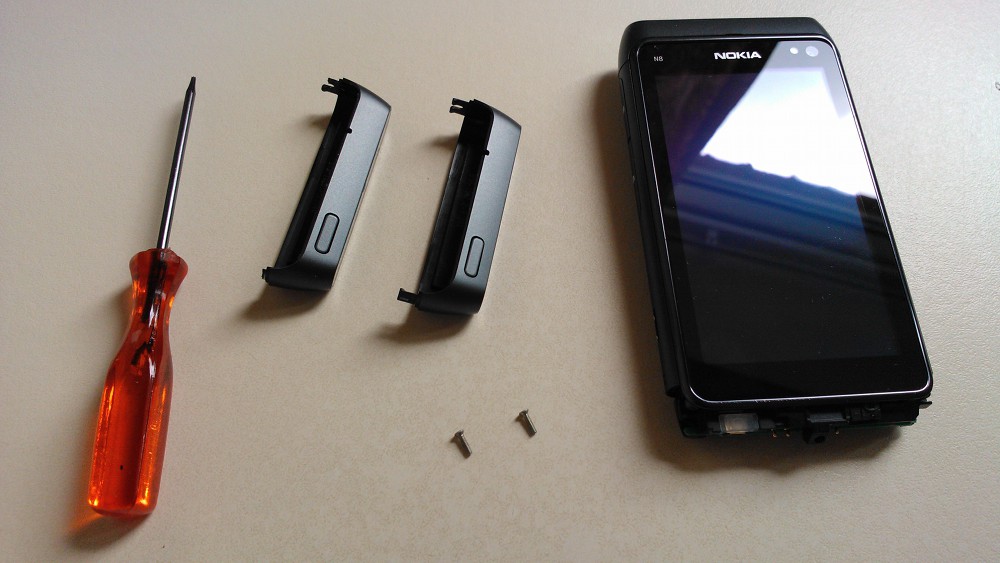
Everything you need to replace the antenna cap.
Replacing the antenna cap is a simple procedure and all you'll need is:
- A Torx T4 screwdriver
- A genuine Nokia N8 antenna cap
- Presumably you'll choose the same colour as your device – unless you want to go for the multi-coloured odd-sock look.
Both of these are easy to find from online retailers and eBay; the antenna cap will cost you from £4 to £8 on eBay; I bought mine from this seller. A screwdriver shouldn't cost more than £2.
As long as you're not heavy handed, you shouldn't need to replace the T4 screws in your N8. However, it might be worth having a few spare in case you lose the originals or accidentally strip the heads.
What to do
First of all, find a safe place where any small parts are unlikely to roll of the edge of your working area and get lost, and plenty of light will help too.
Step 0:
Ensure that you clean the inside of the new antenna cap to remove any bits or grease from the antenna contacts – I used an anti-bacterial wipe. There are reports that changing the antenna cap can reduce the signal reception performance of the N8, so anything that improves the electrical connection between the phone and antenna is worth doing.
Step 1:
Turn your N8 off, and then locate the screws on each side – they're toward the bottom of the aluminium casing.
Step 2:
Release the screws by turning them anti-clockwise approximately seven times. This should loosen the screws enough to remove the antenna cap without completely removing the screws from the phone.
Step 3:
Remove the old antenna cap, and ensure that you've removed any broken pieces of plastic from inside the empty side channels of the N8's casing. This can take some patience and tipping at numerous angles depending on the shape and size of the pieces.
Step 4:
Slot the new antenna cap into place, and apply even pressure to make sure it's held squarely in place. If you feel any resistance while doing this, stop and realign the cap before trying again.
Step 5:
Lock the antenna cap in place by tightening the screws. Don't tighten the screws too much, as it will damage the threads and/or heads, which will make it difficult to remove them again.
And that's all there is to it!
If you have any questions, or want to tell your DIY phone repair stories, we'd love to hear from you in the comments!
